Need somewhere to store all of those Barbie or princess dolls? You’ll love this cheap and easy DIY Barbie doll organizer!
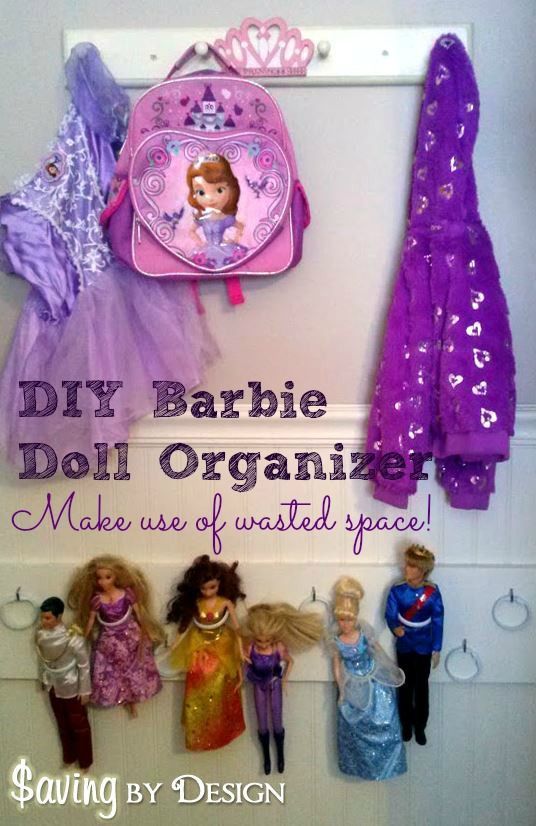
Do you have a little girl with Barbie dolls or maybe Disney princess dolls, as is the case at our house, scattered all over her room?
No matter how many times you place them in a pretty basket they end up in the same place…how can she find the one she wants without dumping the entire basket?! Well I found the solution. Both you and your daughter will love this easy DIY Barbie doll organizer!
Some time ago I came across a great idea to create a doll organizer using PVC pipe couplings. I loved the idea!
When I looked into it though I realized that it would be pretty pricey since the PVC couplings averaged about $1 each. Since my princess has quite a few dolls that could add up quickly. I knew there had to be a less expensive alternative.
With the help of my hubby, here’s what I came up with…
How to make a DIY Barbie doll organizer…
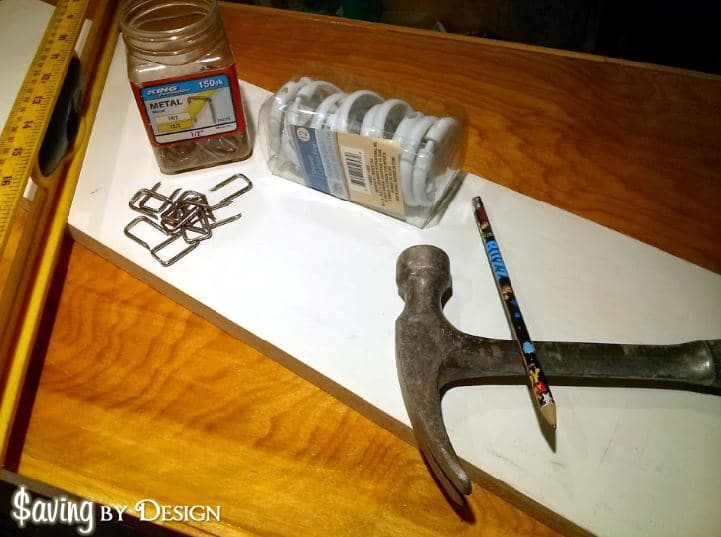
Instead of PVC couplings we used plastic shower hooks! I found them at Dollar Tree for, you guessed it, $1 for a pack of 12!
The supplies we used included a 1″ x 8″ board in the length desired, paint, level (or ruler or tape measure), round shower hooks, 1/2″ cable staples, hammer, drywall screws, drill, and pencil. The board we used was scrap wood we had from past projects.
If you don’t have any around the house, check the scrap wood at your local hardware or home improvement store. You’ll usually find a steal there and sometimes even find what you are looking for for FREE!
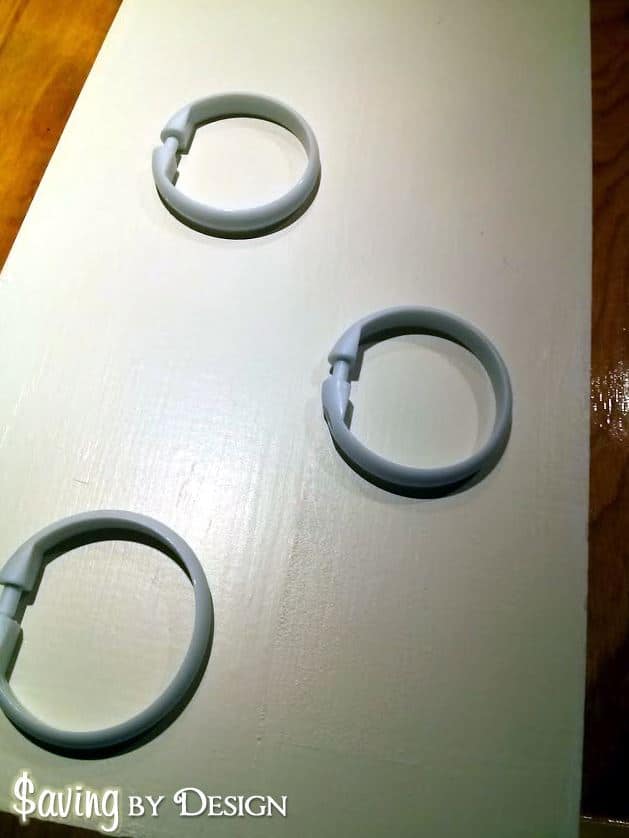
First we painted the board. I had some leftover paint in the color we used to paint the wainscoting in my daughter’s room so I used that. But if you want your organizer to be bright and bold, go for it! You might also consider using patterned duck tape to add some pizzazz 😉
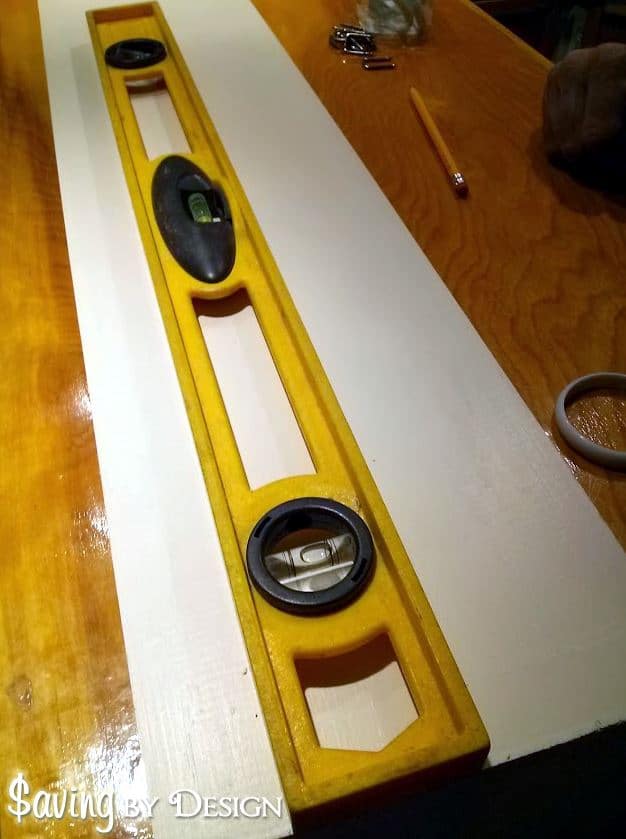
Then we decided on the spacing of the shower hooks and measured it to be consistent across the board. We used a level to be sure our hooks were straight too.
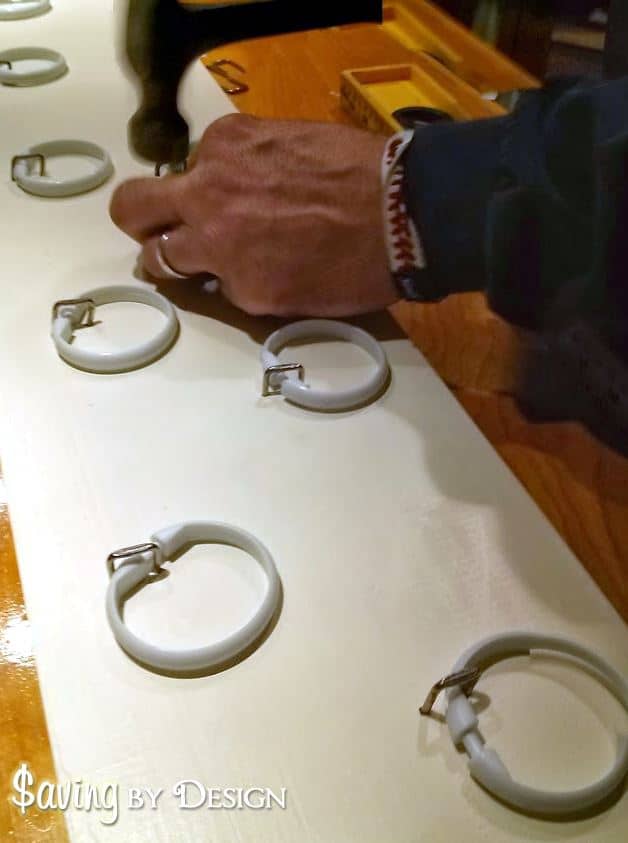
Then it was time to anchor our shower hooks to the board. We simply hammered the cable staples over the hooks and into the board, leaving a nice gap. You don’t want the staple to be too tight or the hooks won’t lay flat when they’re not in use 😉
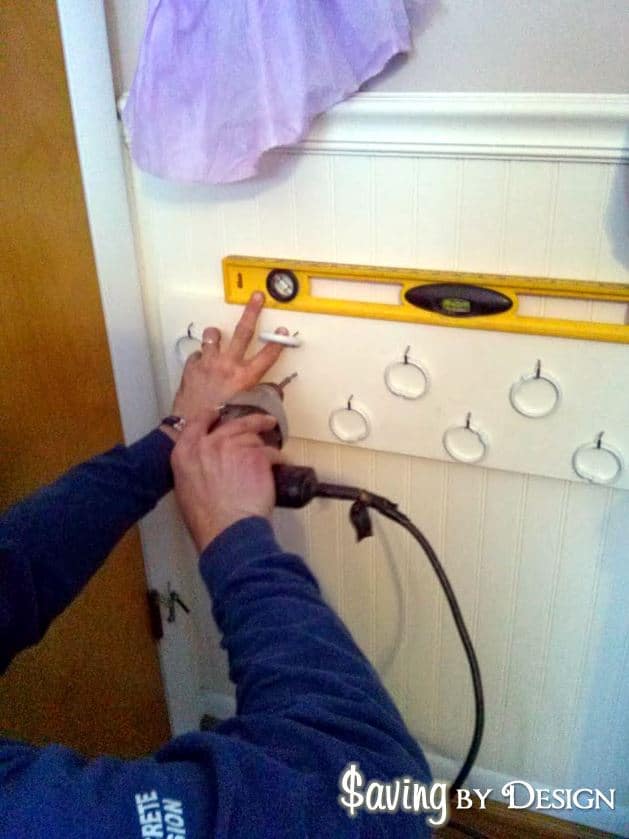
We attached our organizer to the wall behind the door in my daughter’s room. What a great way to use that otherwise wasted space!
We pre-drilled holes into the organizer so the wood wouldn’t split and then used 1-1/2″ drywall screws to attach it to her wall. If you have any spare screws see if they’ll work or you can use nails to hammer it to the wall also.
Always try to use what you have lying around first to save on your spending.
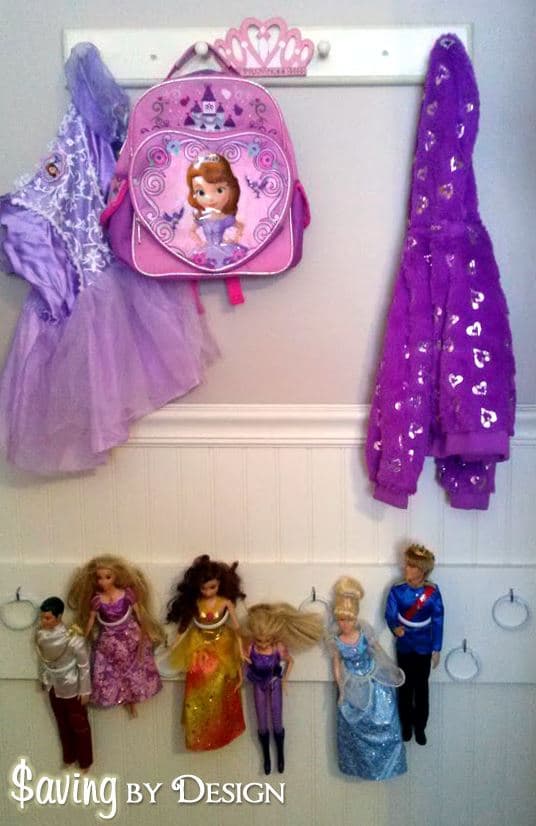
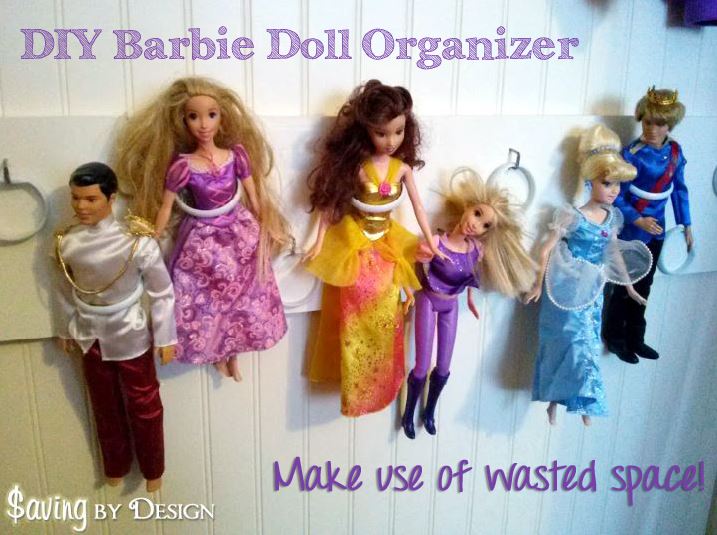
And that’s it! Fill your organizer with dolls and you’re all set!
My little princess loved how easy it was to find exactly the doll she was looking for and she likes that she now has some royal decorations for her formerly plain wall 🙂
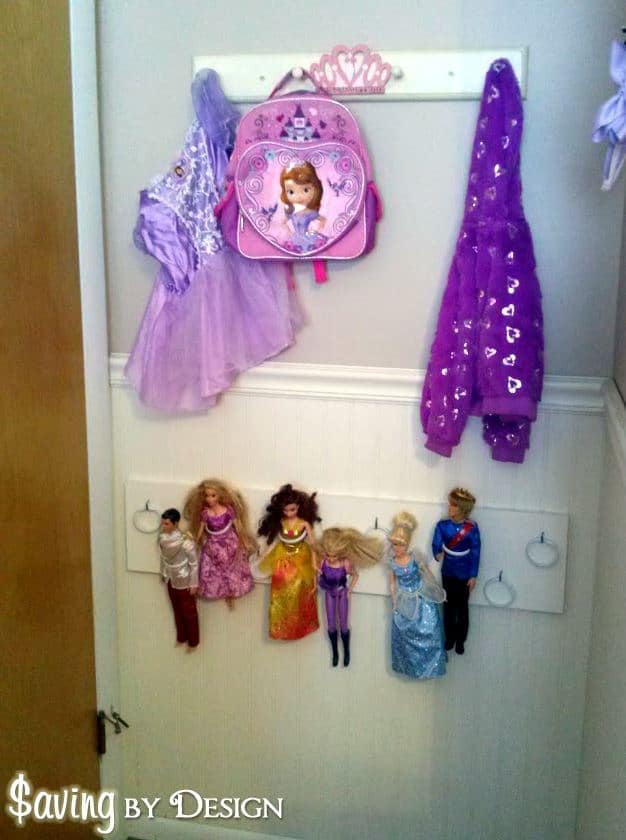
I love that it gets the dolls off of her floor virtually without taking up any space since it’s behind her door.
It’s an added bonus that using the shower hooks instead of PVC couplings allows the hooks to lay flat when they aren’t being used. And if dolls ever get stuck, you can simply open the hooks to get them out.
Have boys? I’m sure this organizer would work just as well with action figures in a boy’s room too 🙂
Don’t miss these posts…
> 9 Fixer Upper Fireplace Mantels You Can Create on a Budget
> 8 Frugal Front Porch Decorating Ideas
> How to Spray Paint a Wooden Rocking Chair – It’s Less Than $10


Our Barbies are stored in a clear plastic over the door shoe rack. Clothes are there as well. Each pouch is labeled with the name of the item (long dresses) as well as a photo example as she is not yet reading.
The top rows store the accessories so she can not reach them and therefore can not use them without direct supervision ensuring that these items will not be out and about when younger children come over, to avoid a choking hazard.
Great idea Nancie! I’ll have to try that with her doll clothes. I love the idea of small accessories at the top 🙂
I’m so happy that you were able to take my idea and run with it! I love that you were able to make it even more affordable. That is always a huge positive for me and it looks like it works great. I just wanted to let you know that we didn’t pay $1 for each coupling, we actually found some pretty cheap ones at our local Home Depot and I think they were something like .39 each. Still not as affordable as yours, for sure, but definitely not as expensive as the ones you referenced. I’m kind of OCD, so I like seeing the uniformity of the line of couplings, but that’s just me! So glad you were inspired to create a more affordable version! -Ester P.S. My husband loved it too!
Thanks Ester! I really loved your idea 🙂 And $0.39 is way better than what I was finding! We checked all the local stores and Amazon and kept finding them for around $1 which wouldn’t be bad if she didn’t have SO MANY dolls! lol Thanks again for the inspiration!
I love love this ! Ive been all over he web looking for something like this and BINGO here it is! Yay thanks so much! now my next question is do you have an organizer for their clothes? So hard when i don’t have much space and a lot of dolls. lol! I will start with this and maybe you will send me word on a clothing organizer. lol! Then onto toy car organizer for my son! Single mom here loving your site so thanks for sharing. I owe you the world! love Jen
Yay! So happy it helped you!! 🙂
To be honest, I just found stackable baskets at Home Depot last week that I’ve been using for cars, monster trucks, and random Barbie dolls and accessories.
They were less than $4 each and have been working great in a play area in our living room 🙂
Hi, I was just wondering if it’s easy for a little one to get the dolls off and on the hooks without help? And also how this solution worked over time, if you’re still using it or had a different idea since then. Thanks!