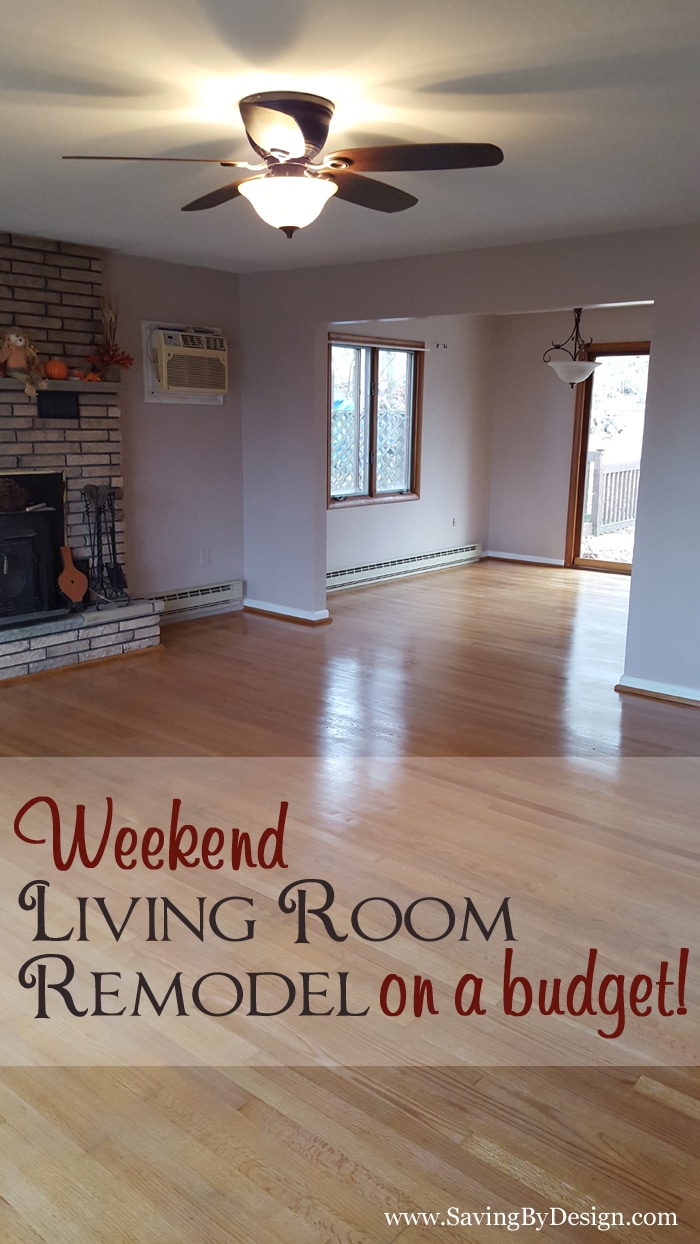
Over the weekend we took on a project that I’ve been wanting to do for about a year…it was finally time for a living room remodel on a budget!
SEE ALSO:
- Don’t forget about updating your fireplace! Here are 9 Fixer Upper Fireplace Mantels You Can Create on a Budget 😉
- Take your front porch from drab to fab with these frugal front porch ideas.
If you’ve been following me on Instagram, you have probably seen what we were working on this weekend. With our newest family member on the way in less than 5 weeks, we really wanted to update our living room and get everything perfect.
Our Weekend Living Room Remodel on a Budget
About a year ago I started planning this living room remodel on a budget, so it’s been a long time coming and I’m super excited to finally get it underway!
It all started with our furniture.
The furniture
After having it since we bought our home 10 years ago and having two kids, two dogs, a cat, and everything that goes along with them over the years…our couch and love seat were DONE. Like stick a fork in them DONE! They were smelly (no matter how many times I shampooed them), torn in places, and just plain used and abused. So with a new baby on the way it was time for some fabulous fresh furnishings 🙂
Even though it was time for new furniture, that didn’t mean we would be spending a fortune.
I love Bob’s Discount Furniture and they had just what we were looking for…quality furniture at a great price along with their Goof Proof Plus Protection Plan which covers us for 5 years against factory defects AND accidental damage.
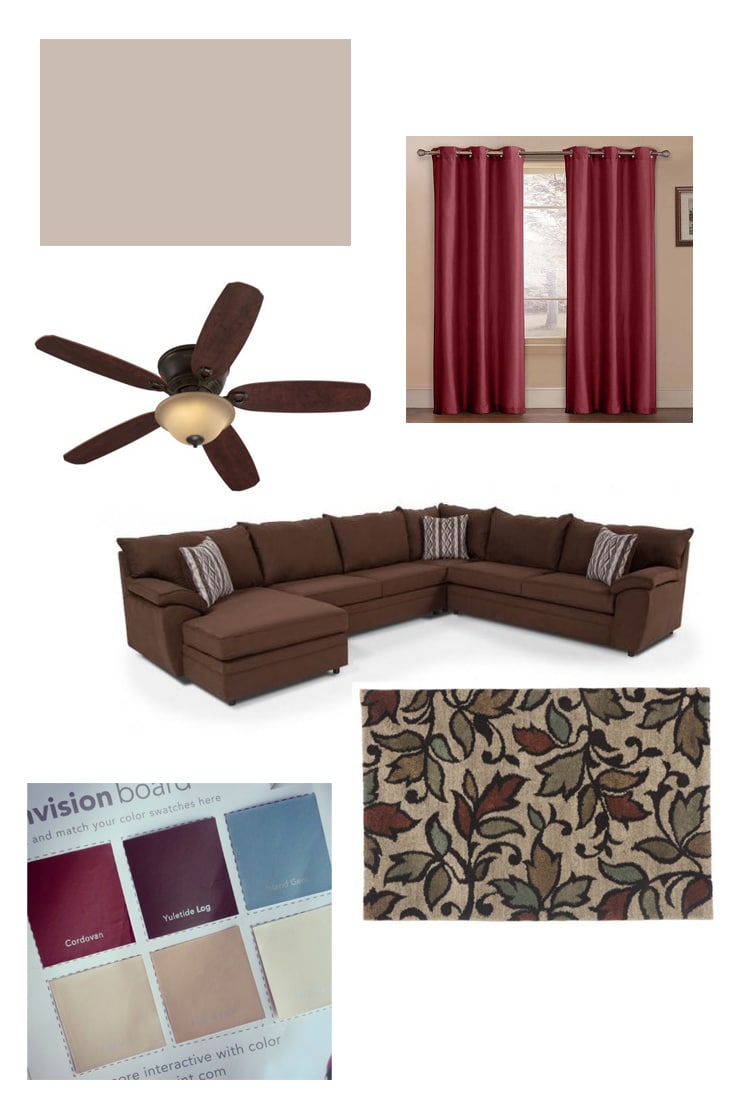
Having the crew at home I mentioned earlier – my munchkins and pets – our new furniture had to make sense for our family. No matter how much I loved the light tan sectional on display as soon as we walked in, I knew chocolate brown would be a much better choice for us.
So that’s where my remodel started…with a 4-piece java brown sectional that I would center everything around. At Bob’s we also found a great shag rug, Afternoon Blooms, that tied together all the colors I wanted to use…brown, burgundy, teal, and tan.
From there everything snowballed into a complete remodel.
The remodel
The hubs and I started discussing how our hardwood floors really needed to be refinished and how when purchasing new furniture would be the perfect time to do it.
We could throw out the old stuff and schedule the delivery of the sectional for after the floor project was complete. That way we wouldn’t have to worry about where we were going to put everything while working on the floors. It would also be the perfect time to paint our ceiling and walls…we haven’t done that since before our first kiddo was born 8 years ago.
We also needed to replace our ceiling fan since we took the one we had for our master bedroom/nursery remodel.
So we had our plan. Over the weekend we would…
- Order our furniture for delivery at the end of the week (Friday evening)
- Refinish our hardwood floors (sand Saturday, finish Sunday)
- Install a new ceiling fan (Saturday so we had the light needed for working on the floors and painting at night)
- Paint the ceiling and walls (Sunday) We wanted to paint the trim, window sills, and air conditioner cover white too, but ran out of time to do it all this weekend…so we’ll finish those up soon.
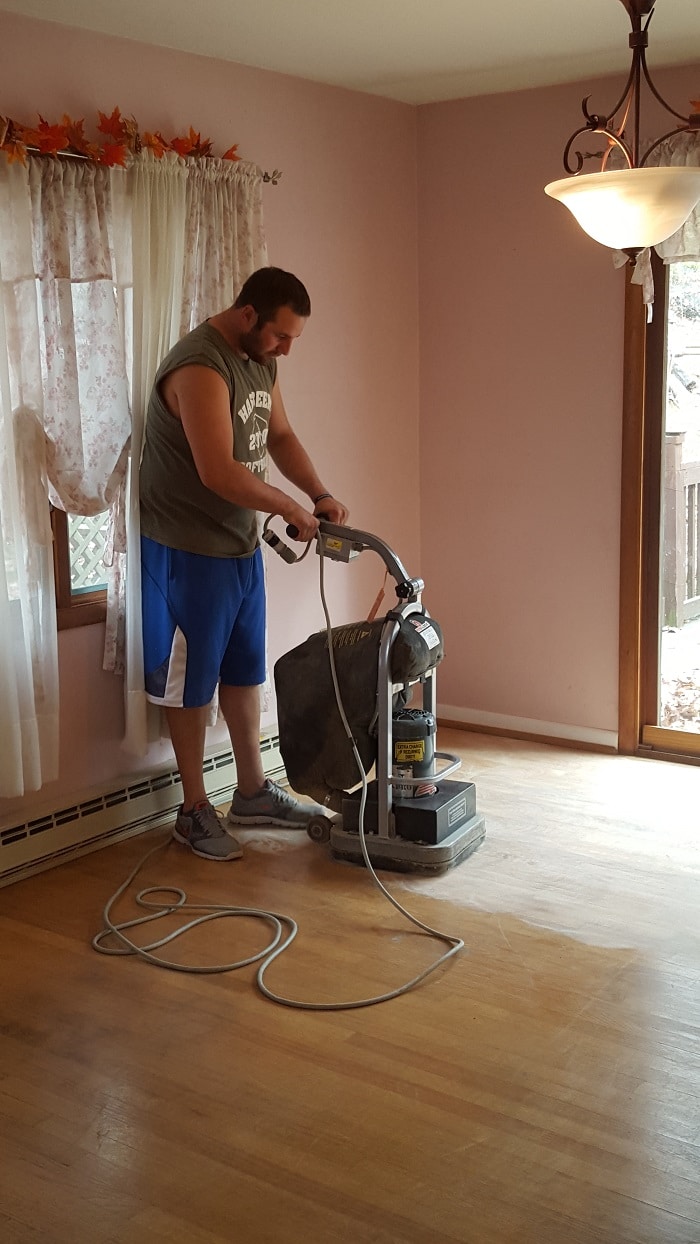
After clearing everything out of the living space, we rented a random orbital floor sander from our local TrueValue hardware store and got started on the floors.
We really didn’t have much finish left and our floors weren’t in terrible condition so my hubby sanded the floors first using 80 grit paper and then 100 grit paper.
When he was finished we vacuumed up the dust using a shop vac and then I mopped them using my homemade floor cleaner solution (1/2 cup vinegar + 1 gallon water) in my wonderful spray mop. You just want to make sure you don’t use any kind of cleaner that will leave a residue.

Before applying the finish to the floors we painted the ceiling and walls.
If we painted before sanding the floors we would have had to wipe down everything again to get the dust off from sanding. Wiping down walls just isn’t one of my favorite things to do so we decided to paint after sanding but before finishing. This way we wouldn’t have to wait days for the floors to dry before painting.
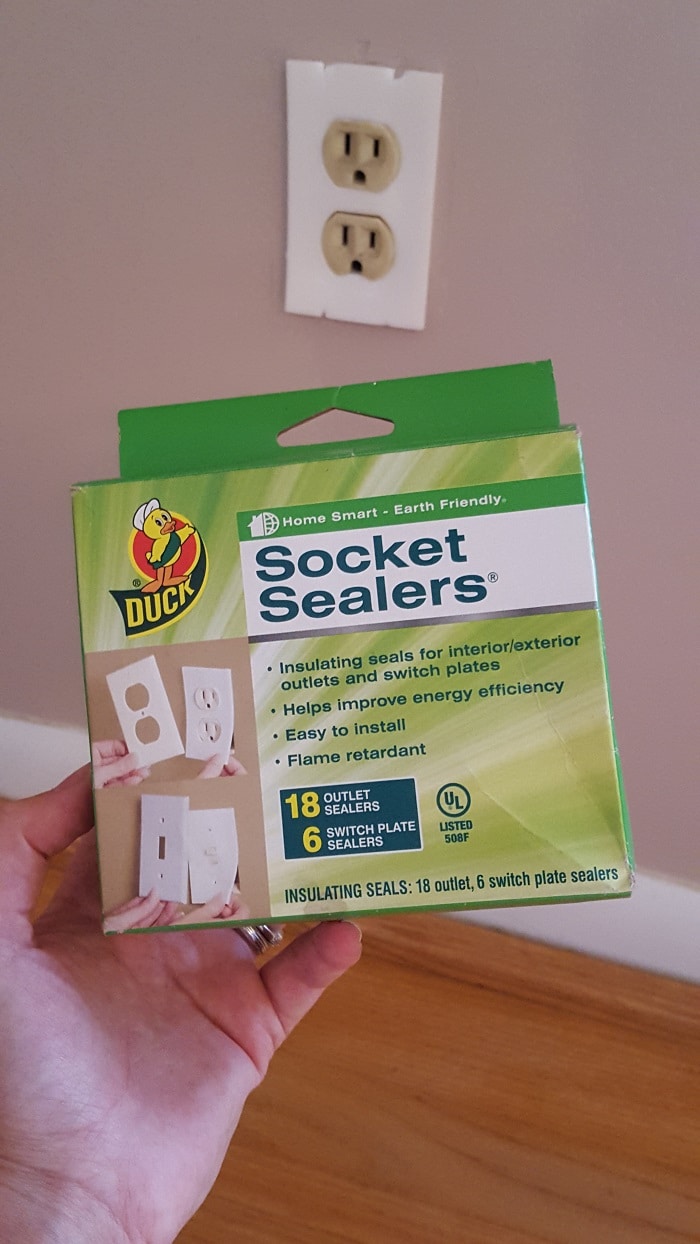
While we had the outlet plate covers off I was sure to install socket sealers to the exterior wall sockets and switches before putting the covers back on. Such a simple thing, but they really work great to prevent drafts!
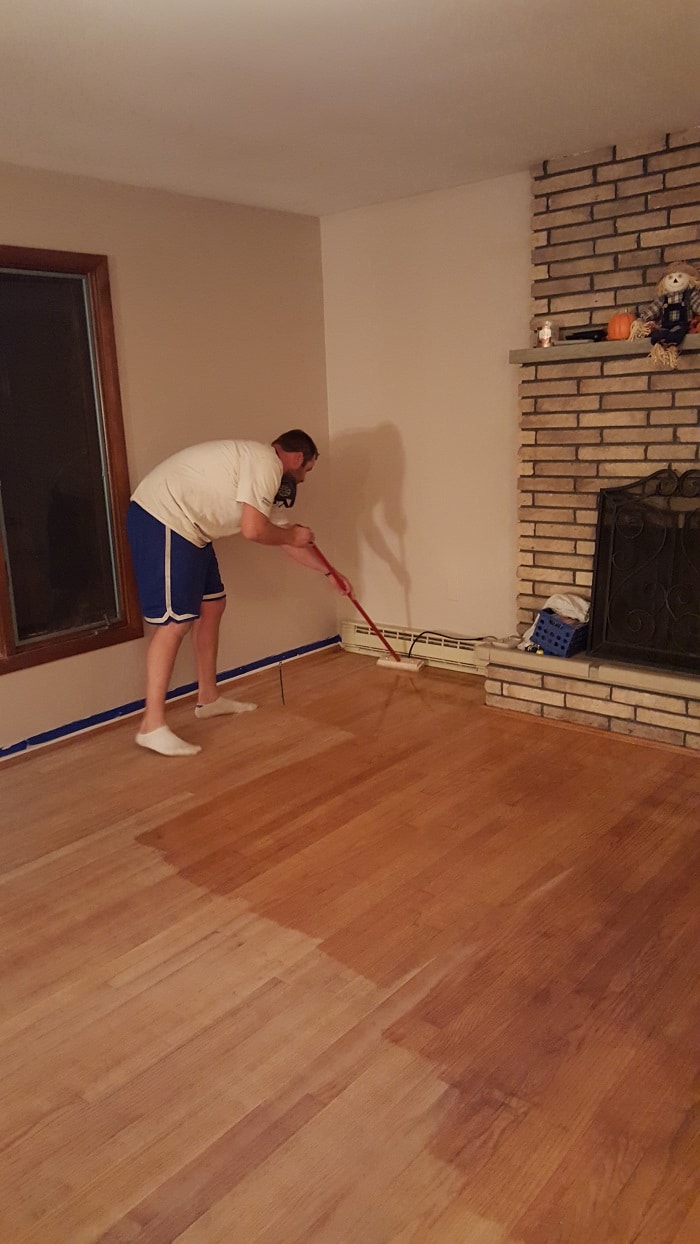
To finish our floors we decided to go with Minwax Ultimate Floor Finish in semi-gloss.
Even though it was a little more expensive than the other finishes available, it ended up to be worth the extra cost. It’s a water-based finish that allows you to re-coat in only 2 hours and requires no sanding between coats. There was also virtually no smell (which was a pleasant surprise) and was super easy to work with, spreading as easy as water.
I couldn’t believe how quickly my husband was done…it only took him about 45 minutes to coat our entire living room, dining room, and hallway. We followed the recommendation from the manufacturer and applied 2 coats.
Here’s a look at our supply list and costs…
Refinishing the hardwood floors
- Random Orbital Floor Sander rental – $70 at our local TrueValue hardware store
- Minwax Ultimate Floor Finish (semi-gloss) – $65
- Lambswool Floor Finish Applicator – $8
- Floors total cost – $143
Paint
- Easy Care Ultra Premium Paint (satin finish in Dark Salmon) – $28, we needed 2 gallons so $56
- Easy Care Ultra Premium Ceiling Paint (flat finish) – $28
- Supplies – we already had these from previous paint projects
- Paint total cost – $84
Furnishings
- Saturn 4 Piece Left Arm Facing Sectional (Java Brown) – $1,098 with Goof Proof Plus Protection Plan
- Afternoon Blooms Rug (7’10” x 10′) – $399
- Harbor Breeze Pawtucket 52″ Ceiling Fan – $100
- Grip-It Ultra Stop Non-Slip Rug Pad (8′ x 10′) – $26
- Victoria Classics Carlyle Curtain Pair (38” x 84” in Red) – $12 per pair closeout deal, we needed 2 pair so $24
- Furnishings total cost – $1,647
Cost of all projects together – $1,874
As you can see our DIY living room renovations actually cost less than $300 for newly refinished floors and freshly painted walls and ceilings. And that even included our dining room and hallway too.
The majority of the room cost was for our furniture which after 10 years we decided it was time to splurge on.
So here’s where we stand now…all renovations are complete! Yay!!
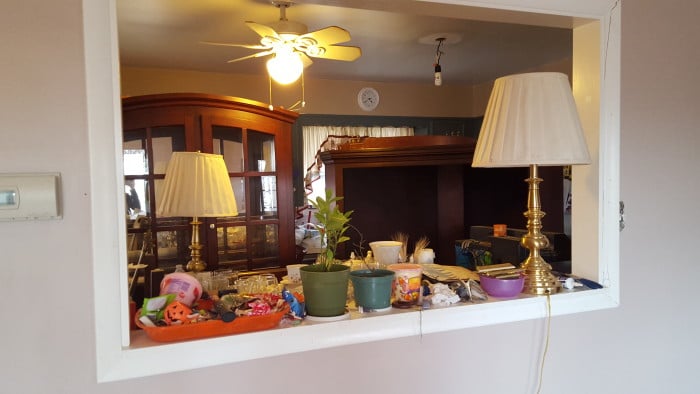
The floors are drying so it’s socks only and a bit of chaos for a few days since our entire living room and dining room are in our kitchen (which is also under construction) and bedrooms. After 4 days we’ll start to put things back in their place and then at the end of the week our new furniture will be here.
Stay tuned for our new living room reveal!
Then it’s on to finishing the master bedroom/nursery! 🙂
You may also enjoy these posts…
> How to Spray Paint a Wooden Rocking Chair


Leave a Reply